A DIY 3D Printed Rocket Launcher
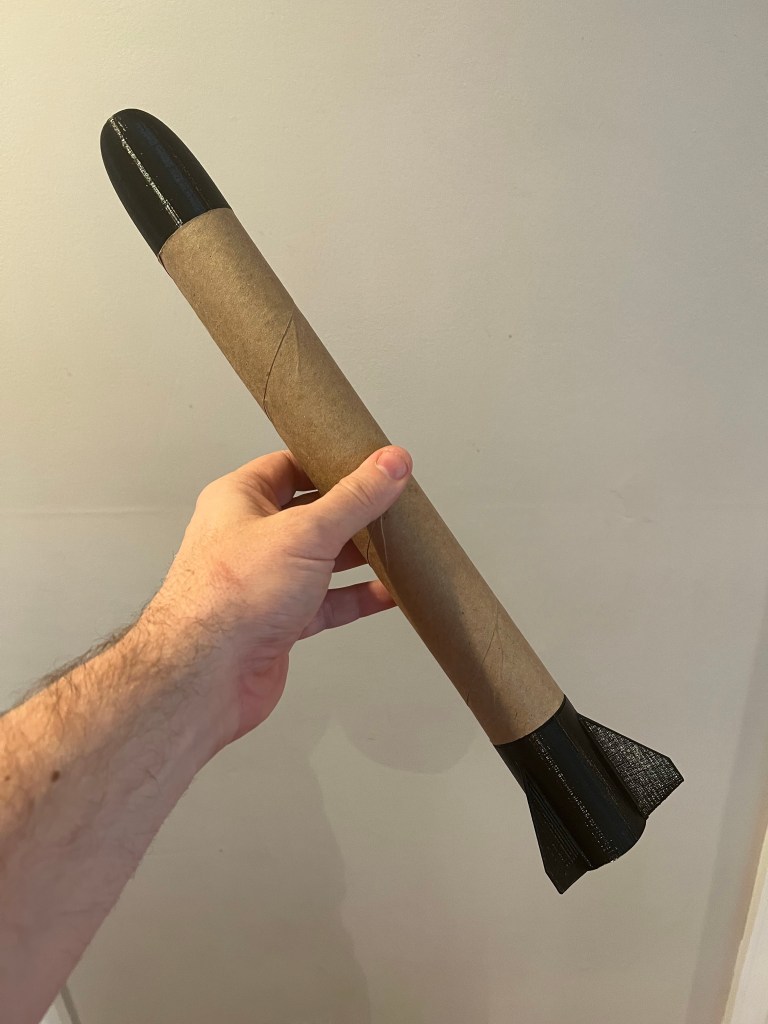
After successfully launching a multitude of my 3D printed Bounty Towel rockets, my kids and I decided we needed a more badass rocket launcher than the bland and generic store bought mass manufactured versions. My biggest complaint with the generic store bought models is when you press the switch you get very little feedback on what is happening. This is especially concerning when the rocket doesn’t immediately launch. There is also ample opportunity for improvement in the aesthetics department on these devices.
This project was featured on Hackaday, in their coverage of the Philadelphia Maker Faire.
If we wanted an awesome rocket launcher we were going to have to print, build, wire, and assemble it ourselves!
Model Rocket Launcher Plans
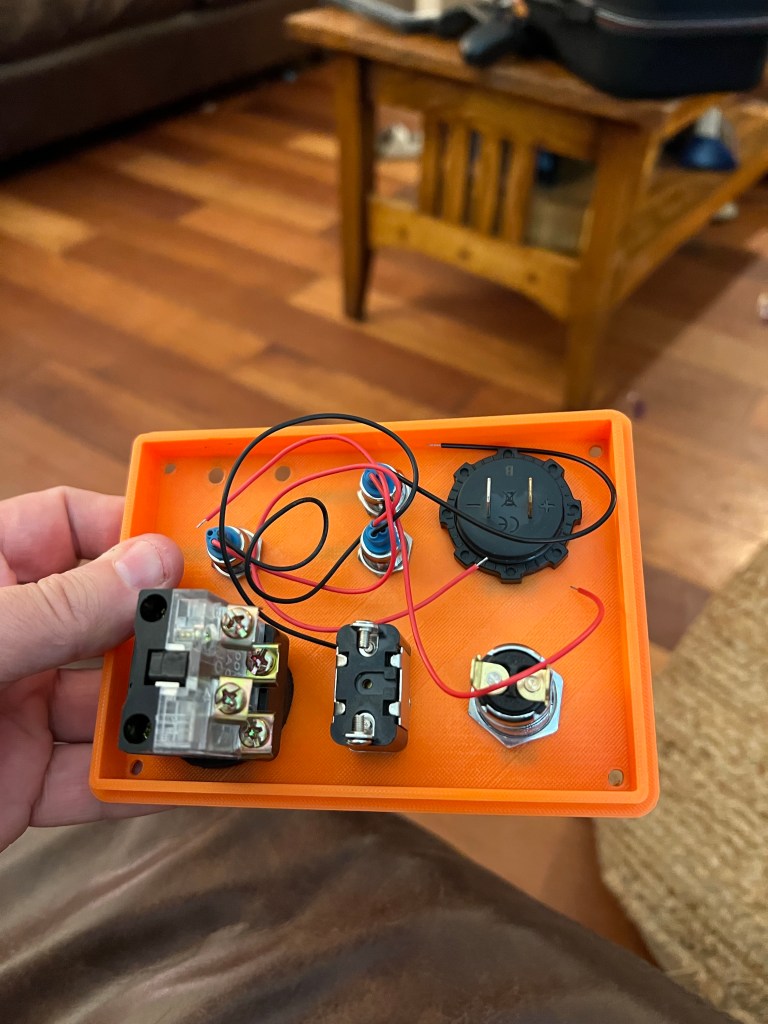
The whole controller is one series loop: battery → inline 5 A fuse → key switch → arm toggle → momentary fire button → igniter clips, and back to the battery. The continuity LED sits across the fire button: with the key on and the system armed, a tiny (~20 mA) current sneaks through the LED and the igniter to prove the circuit is complete. Press the fire button and the full battery current bypasses the LED and lights the igniter. The voltmeter and power LED sit across the battery so you can see pack health at a glance.
Bill of Materials (BOM)
This post contains Amazon affiliate links — as an Amazon Associate I earn from qualifying purchases, at no extra cost to you.
- 3D Printed enclosure (cover + base are my design) <- Download here
- Battery Enclosure (8 AA Batteries)
- 12V Battery Voltage display
- 3 Indicator LEDs (for power, continuity and armed status)
- On/Off Key Switch
- 1 red cover toggle switch
- 1 red push button switch
- 4mm banana plug female terminals
- 3” Metal Handles (Qty 2)
- Optional Swag: Launch Key Lanyard
- Inline mini blade fuse holder + fuse set (Nilight, 10 holders + 120 fuses including 5A) — the fuse holder goes on the battery + wire, with a 5A mini blade fuse in it. Blade fuses are time-delay by design, so the brief 6–10A surge when an igniter fires will not pop a 5A — but do not go smaller than 5A.
- Spare 5A mini blade fuses (Chanzon, UL listed, 10 pack) — cheap insurance in the range box.
- WAGO 221-413 lever nuts (bag of 10) — for the splices; much more reliable than twisted-and-taped joints.
- 18 AWG two-conductor silicone wire, pure copper (BNTECHGO, 50 ft) — for everything in the firing path (battery, switches, jacks). Thin or copper-clad-aluminum wire is part of how a reader melted a battery pack — use real copper.
Heads up: the 3D-printed enclosure is a paid download on Cults3D (a few dollars). Any project box from the hardware store works too — the wiring is exactly the same.



DIY MODEL ROCKET LAUNCHER CONTROLLER WIRING DIAGRAM

Updated August 2026 (rev B): the diagram now shows the inline 5 A mini-blade fuse and marks the three LEDs as 12 V panel-indicator modules. Two things the original diagram left implicit, made explicit: the LEDs in the parts list have built-in resistors — do not substitute bare LEDs (a bare LED in the continuity position would send ~10 A through the igniter the moment you turn the key), and the “1 Ω” element on the right is the igniter itself, not a resistor you buy. The continuity check passes a harmless ~20 mA through the igniter whenever the key is on — far below the no-fire current of standard Estes igniters (if you fly more sensitive e-match style igniters, unplug them until you are ready to arm).